
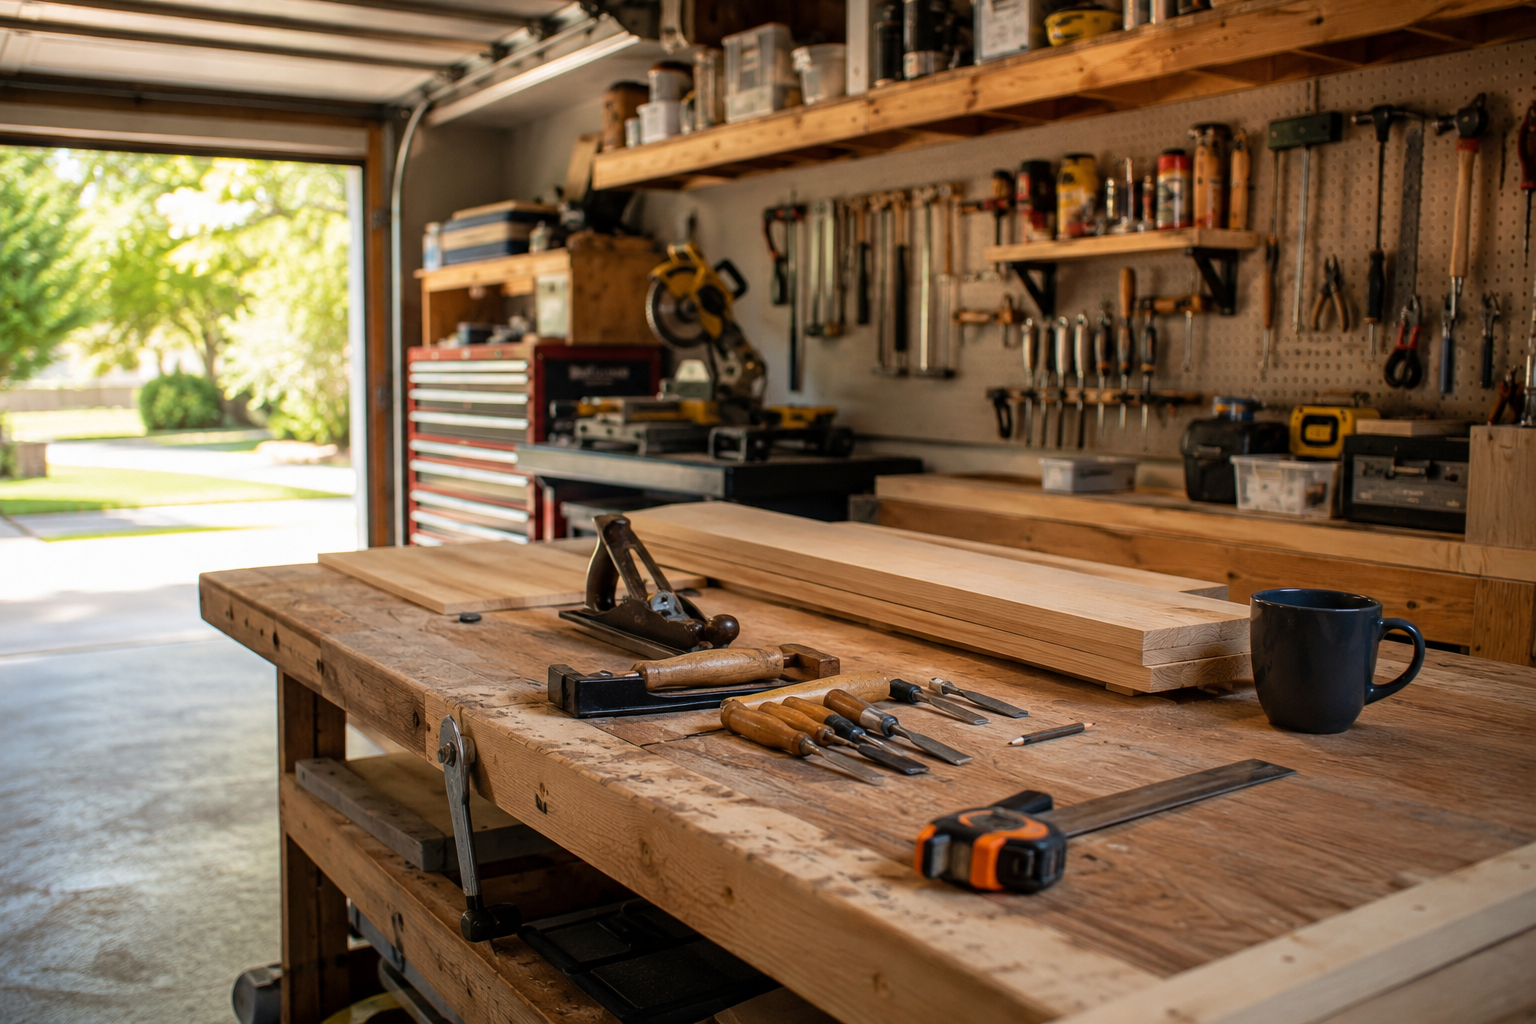
Woodworking has a reputation for being intimidating, something reserved for people with a garage full of power tools and years of practice. The truth is, one of the best beginner woodworking projects you can start with is also one of the simplest: a basic wooden shelf. It teaches you how to measure, cut, sand, and assemble wood without requiring an expensive workshop setup.
This guide walks you through exactly how to build a simple wooden shelf from start to finish, using budget-friendly tools and lumber you can find at any hardware store in the US. Whether you’re looking to add storage to a bedroom, a garage, or a home office, this beginner-friendly woodworking project is a great way to get comfortable with basic tools before moving on to bigger builds.
Why Start Woodworking With a Shelf Project
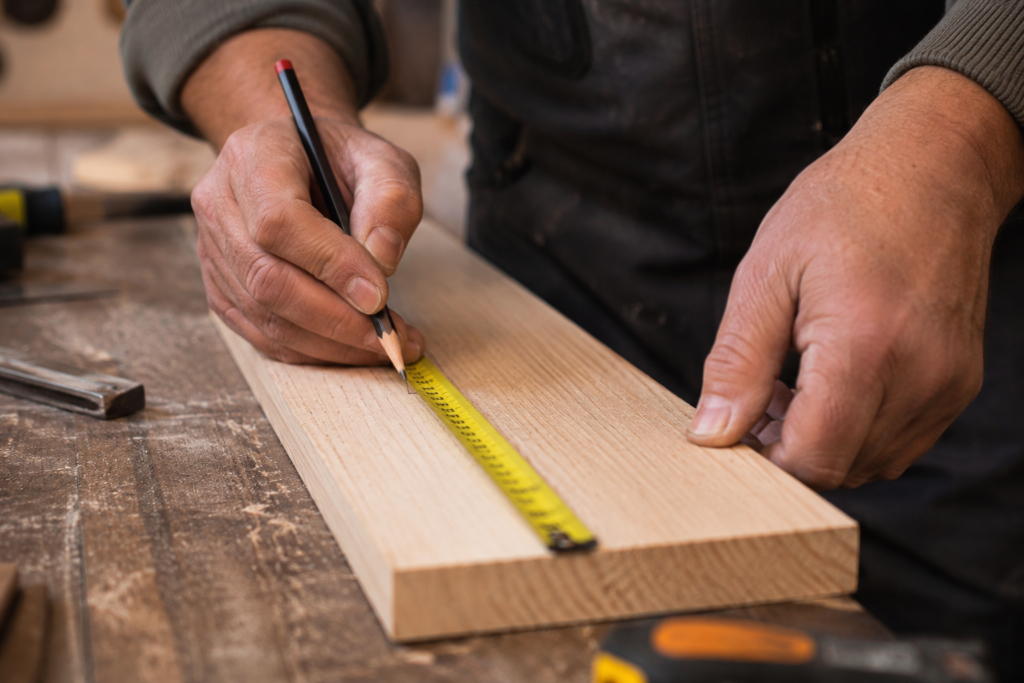
A basic shelf checks every box for a first woodworking project. It’s small enough to complete in an afternoon, forgiving enough that small mistakes won’t ruin the piece, and useful enough that you’ll actually want to display it once it’s done. Unlike more advanced furniture builds, a shelf doesn’t require joinery skills like dovetails or mortise-and-tenon joints, which makes it the perfect entry point for anyone new to woodworking.
Building your own shelf is also significantly cheaper than buying pre-made floating shelves or bookcases, and it gives you full control over the size, wood type, and finish so it actually fits your space.
Tools and Materials You’ll Need
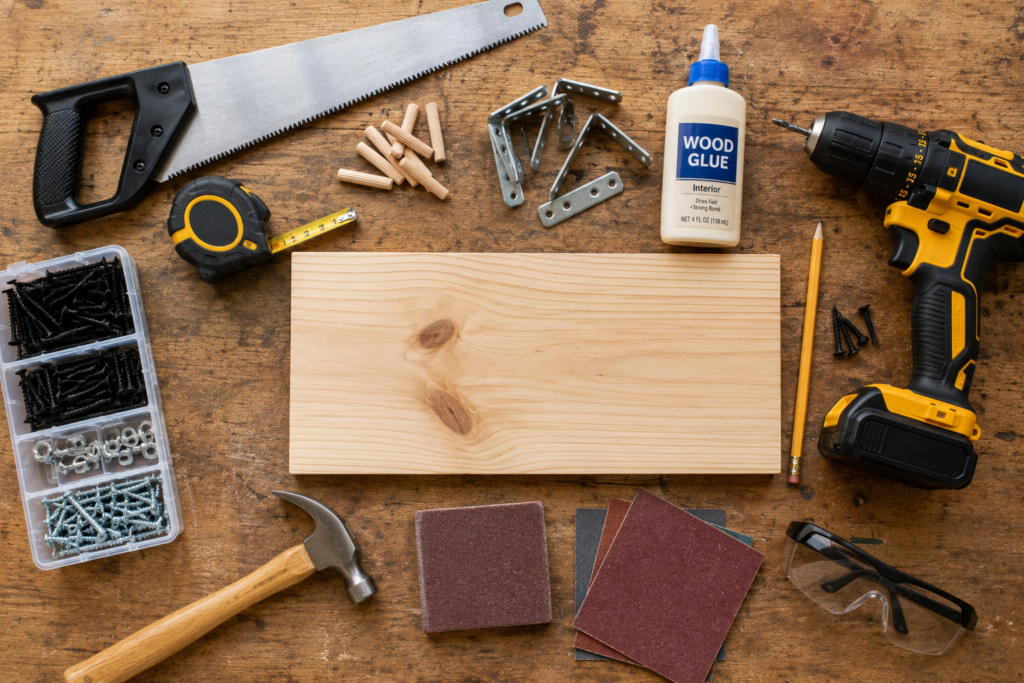
One of the appealing things about beginner woodworking is that you don’t need a fully stocked workshop to get started. Here’s what you’ll need for this project:
- A piece of pine or plywood board (1×8 or 1×10 works well for most shelves)
- A measuring tape and a pencil
- A hand saw or a circular saw
- Wood glue
- L-brackets or a shelf bracket kit
- A drill/driver with wood screws
- Sandpaper (120 and 220 grit)
- Wood stain or paint (optional)
- Safety glasses and ear protection
If you don’t already own a saw, many hardware stores will cut your lumber to size for free or for a small fee when you buy it, which is a great option for first-time woodworkers who don’t want to invest in a saw right away.
Step-by-Step: How to Build a Simple Wooden Shelf
Step 1: Measure Your Space
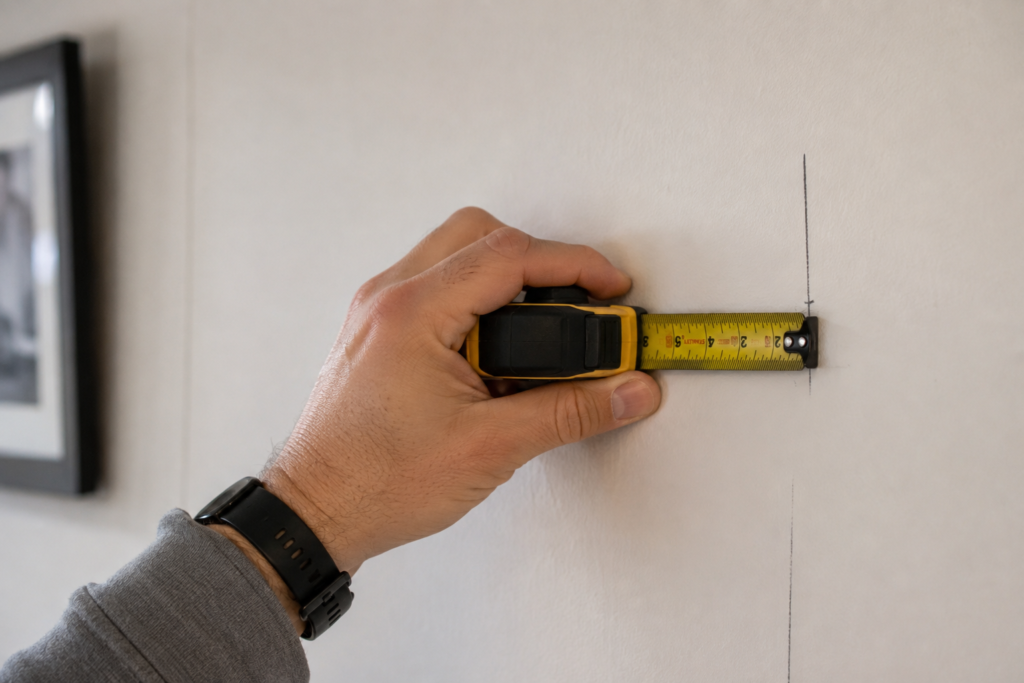
Before buying any wood, measure the wall space where your shelf will go. Decide on the length, depth, and thickness that makes sense for what you plan to store, whether that’s books, plants, or decor. Write these measurements down so you can double-check them at the store.
Step 2: Cut Your Wood to Size

If you’re cutting the board yourself, mark your measurements clearly with a pencil and a straight edge before cutting. Go slowly and let the saw do the work rather than forcing it through the wood. If this is your very first cut ever, practice on a scrap piece first to get a feel for the saw.
Step 3: Sand the Edges and Surface
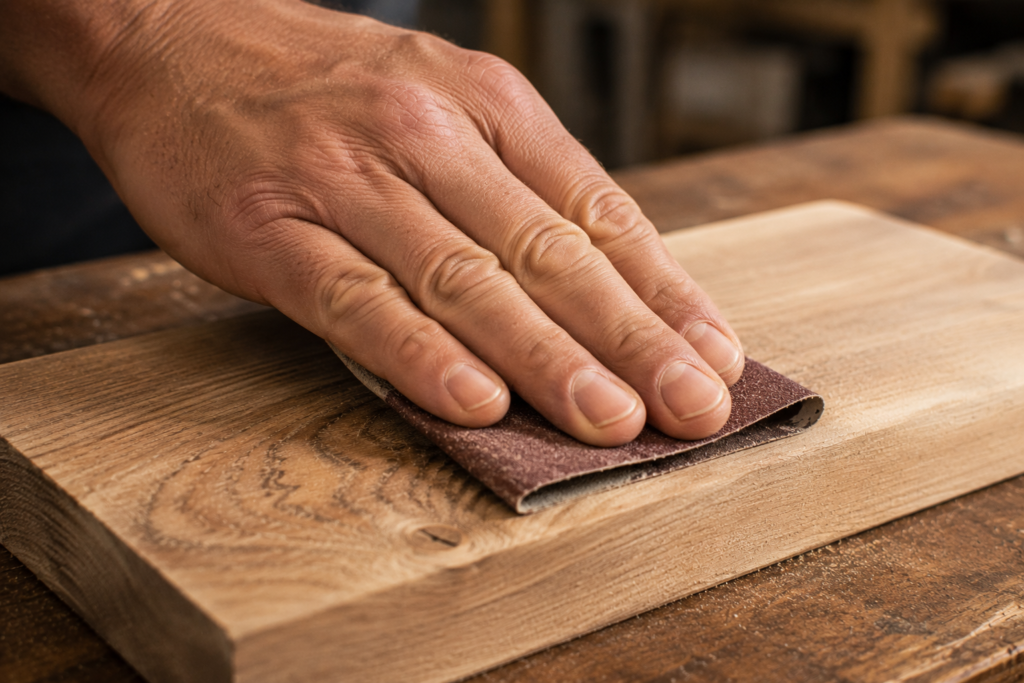
Start with 120-grit sandpaper to smooth out any rough edges or saw marks, then switch to 220-grit for a finer finish. Sand in the direction of the wood grain, not against it, to avoid visible scratches. This step matters more than beginners expect, since a smooth surface makes a huge difference in the final look.
Step 4: Attach the Brackets
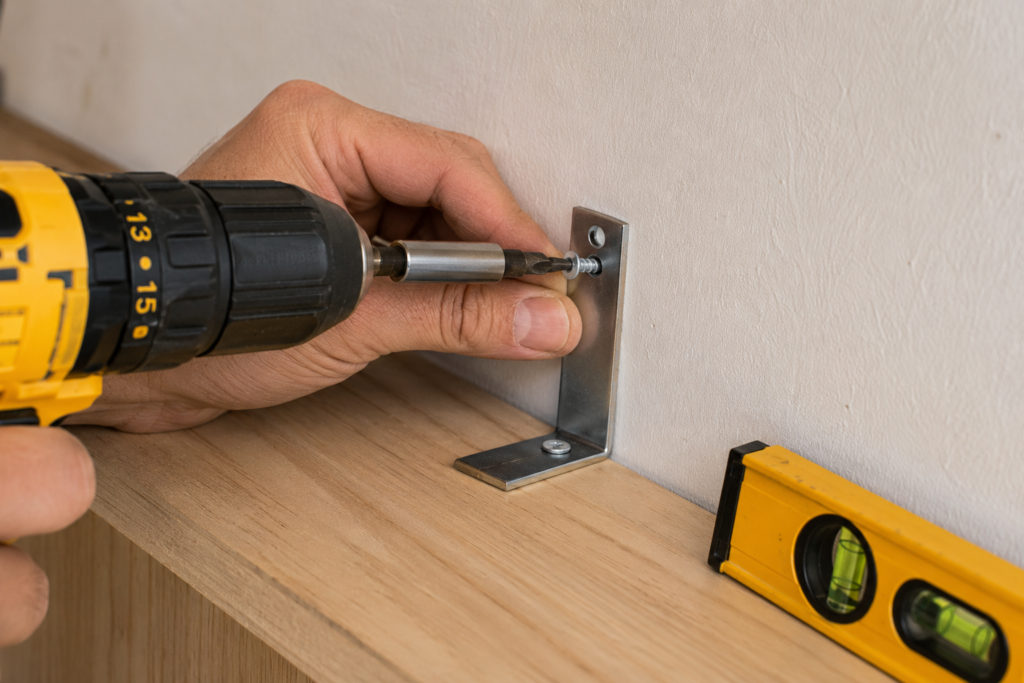
Hold your L-brackets or shelf brackets against the wall at your desired height, using a level to make sure they’re perfectly straight. Mark the screw holes with a pencil, then drill pilot holes before driving in the screws. Pilot holes prevent the wood from splitting, which is one of the most common beginner mistakes.
Step 5: Mount the Shelf
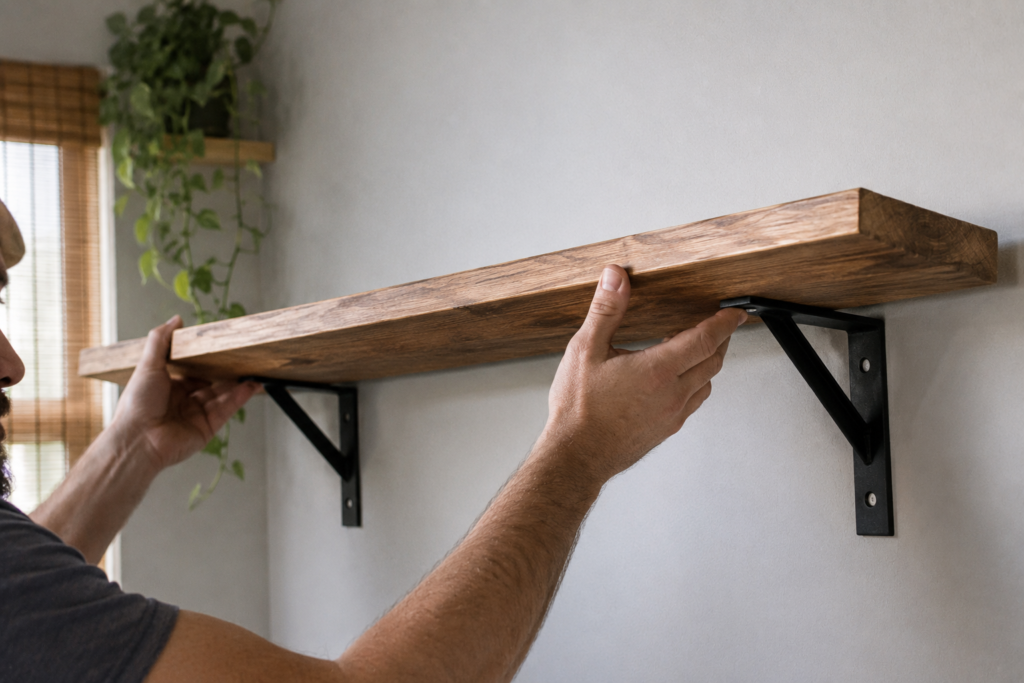
Once your brackets are securely attached to the wall, place the wood shelf on top and secure it from underneath using short wood screws driven up through the bracket into the board. Double-check that the shelf sits level before fully tightening every screw.
Step 6: Stain or Paint (Optional)

If you want a finished look, apply wood stain or paint before or after mounting, depending on your setup. Staining before mounting is usually easier since you can lay the board flat and avoid drips on the wall. Let the finish dry fully according to the product instructions before placing any items on the shelf.
Common Mistakes Beginner Woodworkers Make
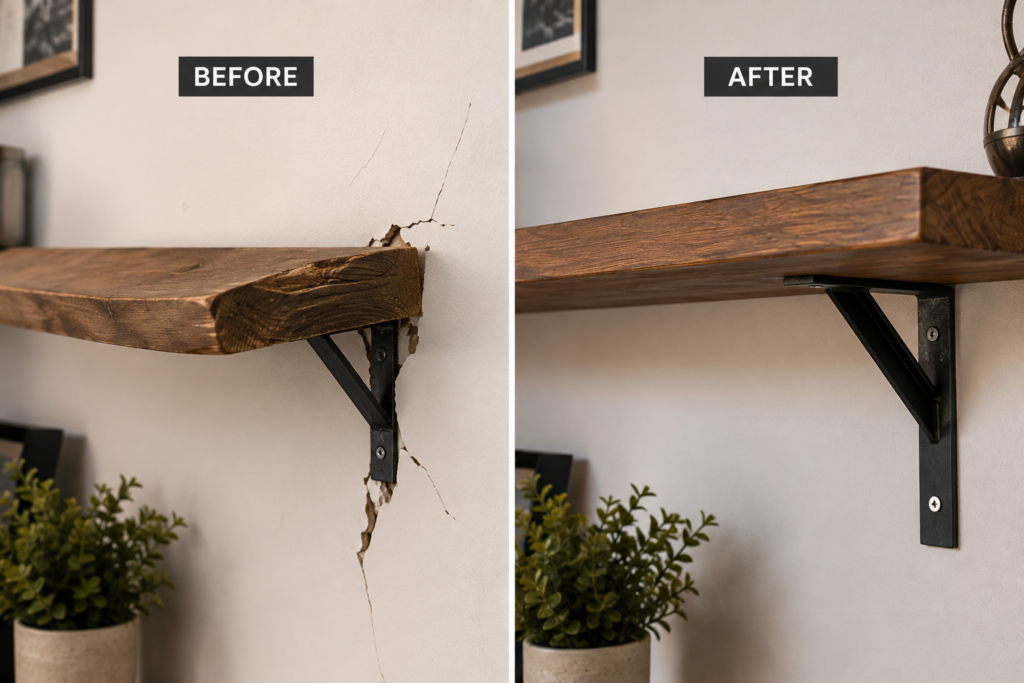
- Skipping pilot holes, which causes the wood to crack near the edges
- Not double-checking measurements before cutting, leading to wasted lumber
- Sanding against the grain, which leaves visible scratch marks
- Mounting brackets without a level, resulting in a crooked shelf
- Overloading a small shelf beyond its weight capacity
Most of these mistakes are easy to avoid once you know to look out for them, and none of them require special skills to prevent, just a little extra patience at each step.
Choosing the Right Wood for Beginners
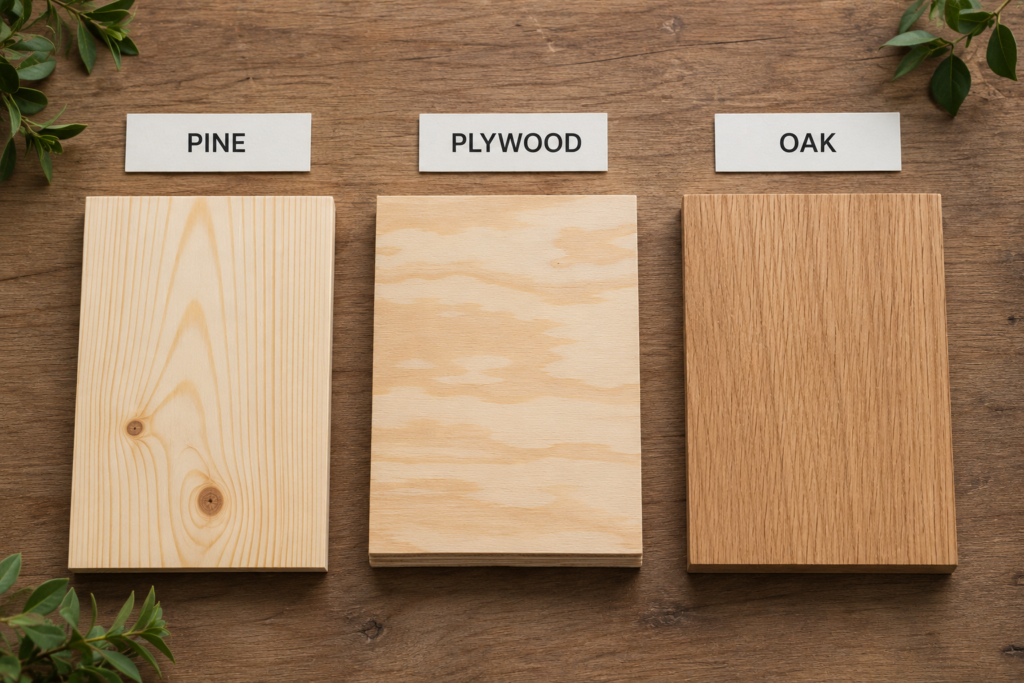
Pine is one of the most beginner-friendly woods available in the US because it’s inexpensive, widely available, and soft enough to cut and sand easily by hand. Plywood is another solid budget option, especially for shelves that will be painted rather than stained, since the surface grain matters less. As you gain confidence, you can experiment with hardwoods like oak or maple, which are more durable but require sharper tools and a bit more effort to work with.
How Much Does This Project Cost?

A basic wooden shelf project like this one typically costs between $15 and $40 depending on the size of the board, the type of wood, and whether you already own basic tools like a drill and sandpaper. Compared to store-bought floating shelves, which often run $30 to $60 each, building your own is both cheaper and fully customizable to your space.
Frequently Asked Questions
Do I need a workshop to start woodworking?
No. Many beginner woodworking projects, including this one, can be completed in a garage, on a back patio, or even on a covered porch with just a few hand tools.
What is the easiest wood project for a total beginner?
A simple wall shelf, like the one in this guide, is widely considered one of the easiest starting projects because it involves basic cuts, minimal joinery, and forgiving tolerances.
How long does it take to build a basic shelf?
Most beginners can complete a simple wooden shelf in two to four hours, including cutting, sanding, and mounting, not counting drying time if you choose to stain or paint it.
Safety Tips Every Beginner Should Follow
Woodworking is generally low-risk when you’re working with hand tools and simple builds, but a few habits will keep you safe from the start. Always wear safety glasses when cutting or sanding, since wood chips and dust can travel farther than you’d expect. Keep your work area clear of clutter so you’re not tripping over scrap wood or cords while handling tools.
- Clamp your board down before cutting instead of holding it with one hand
- Unplug power tools before changing blades or bits
- Keep pets and kids out of the work area while tools are in use
- Work in a well-ventilated space when staining or painting
Final Thoughts
Building your first wooden shelf is a small project with a big payoff. It teaches core woodworking skills like measuring, cutting, and mounting, while giving you a genuinely useful piece for your home at the end of it. Once you’ve built one shelf, you’ll likely find yourself eyeing other beginner woodworking projects, and that’s exactly how a hobby turns into a skill worth having.