
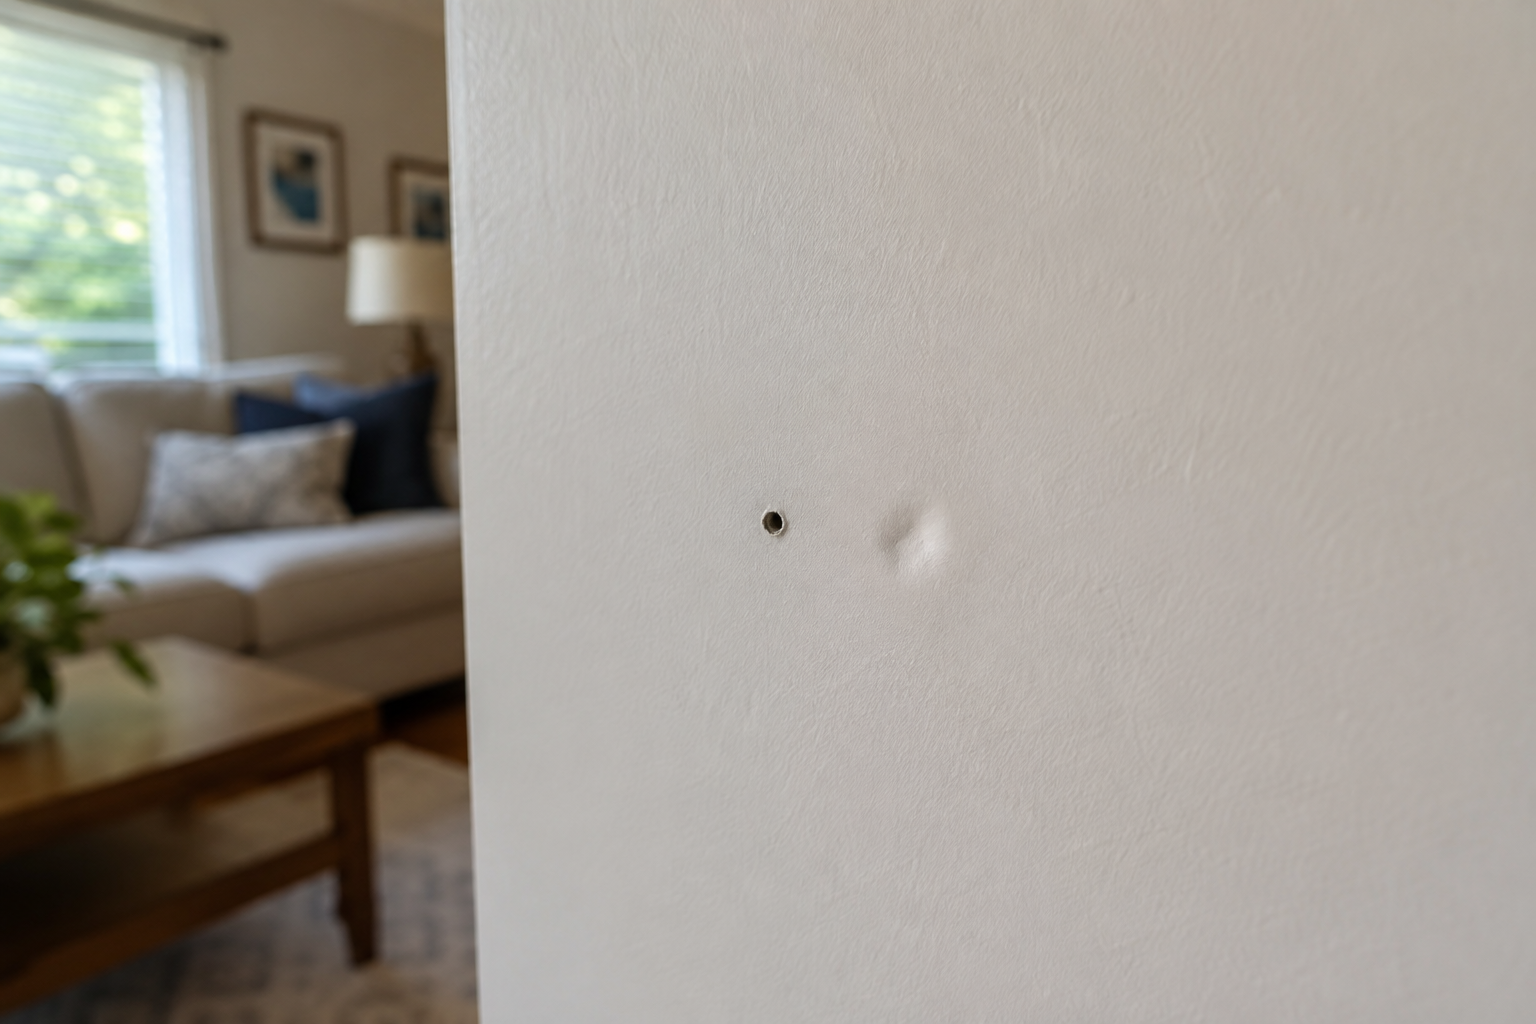
If you’ve ever stood in front of a wall staring at a nail hole, a doorknob dent, or a chunk of drywall that came loose when you moved a bookshelf, you already know the sinking feeling. The good news? Drywall repair is one of the most beginner-friendly projects in all of home improvement, and you don’t need to hire a professional or spend a fortune to make that hole disappear.
This guide walks you through exactly how to patch a hole in drywall, step by step, using tools and materials you can pick up at any hardware store in the US for well under $30. Whether you’re a first-time homeowner, a renter trying to get your deposit back, or just someone who wants to stop staring at that gap in the wall, this beginner DIY tutorial has you covered.
Why Learning Basic Drywall Repair Matters
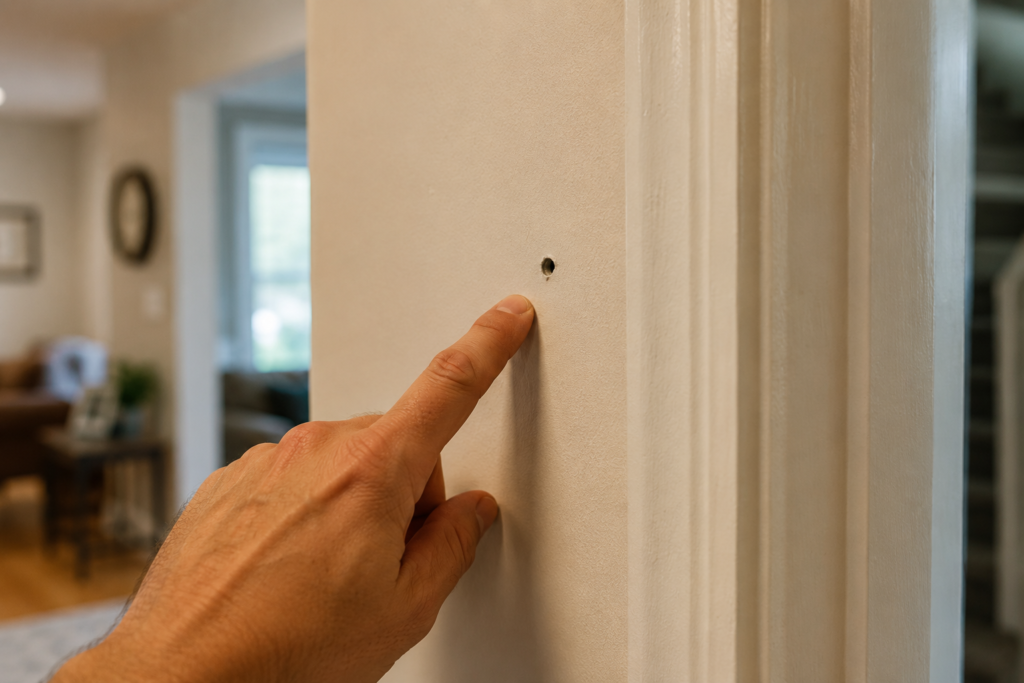
Drywall damage is one of the most common issues in American homes. Kids running into walls, furniture getting moved, picture frames coming down, and doorknobs punching through are all part of everyday life. Left alone, small holes can let in dust, invite pests, and make an otherwise clean room look neglected.
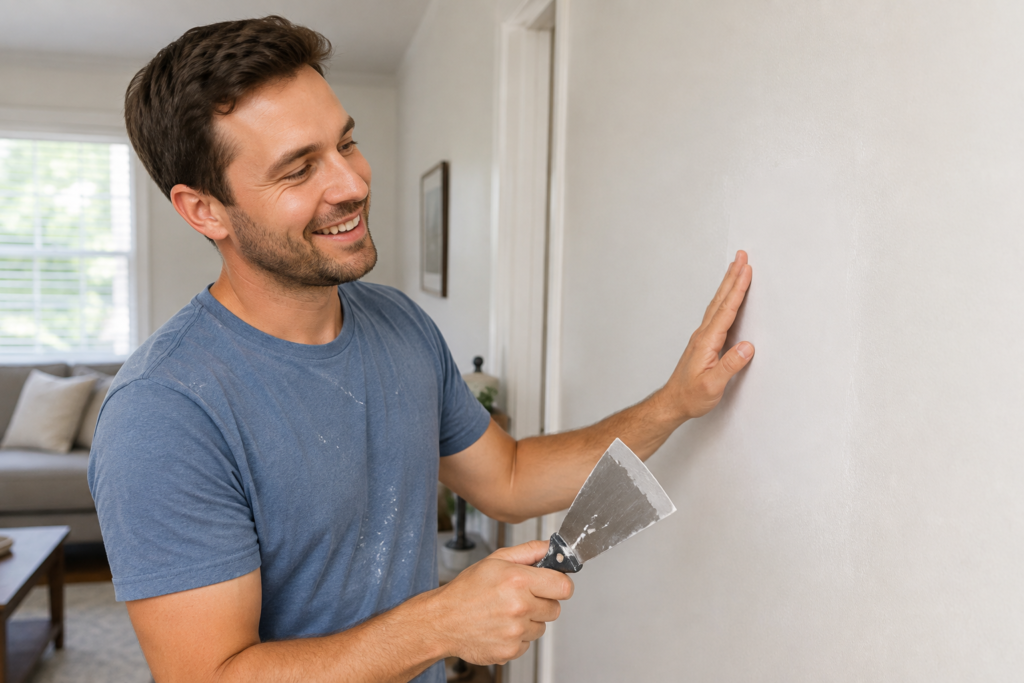
Learning how to fix a hole in the wall yourself saves money on contractor visits, and it’s genuinely satisfying once you see the finished patch blend in seamlessly. Best of all, this is not a skill that requires experience. If you can spread peanut butter on bread, you can spread spackle on a wall.
Know Your Hole Size Before You Start
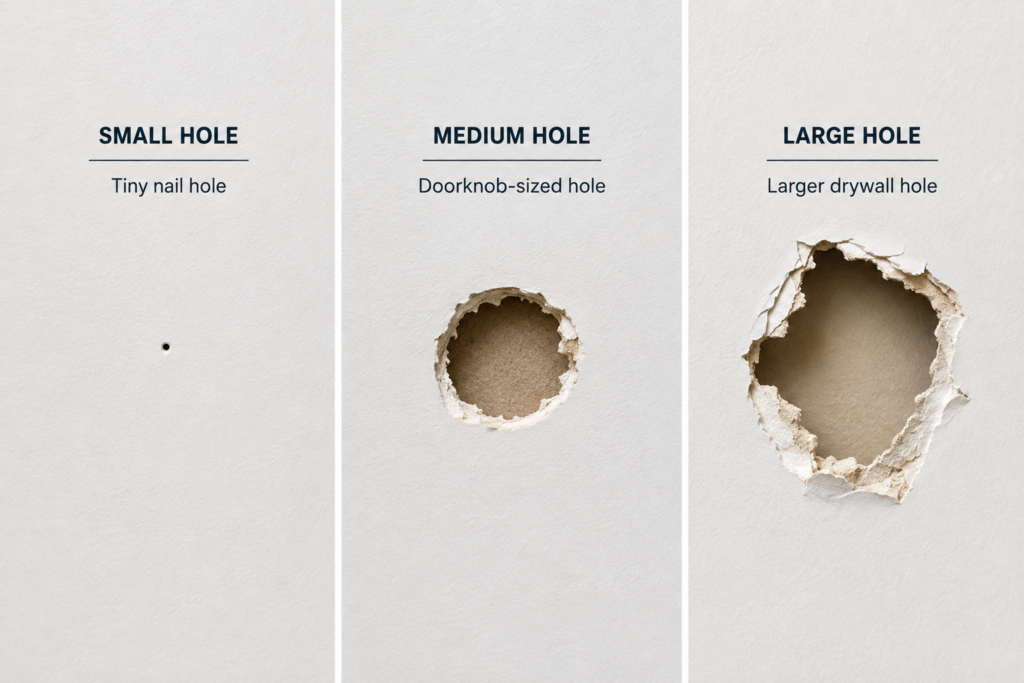
Not every hole gets the same treatment. As a beginner, it helps to sort your repair into one of three categories:
- Tiny holes (under 1/2 inch): nail holes, screw holes, thumbtack marks
- Small holes (1/2 inch to 3 inches): doorknob dings, minor impact damage
- Larger holes (3 inches and up): these usually need a patch kit with mesh backing or a cut-in drywall piece
This guide focuses on the first two categories, since they make up the vast majority of drywall repairs homeowners deal with and are perfect for a first DIY project. If your hole is bigger than a fist, you’ll want a slightly more advanced technique involving a backing piece, but the core skills below still apply.
Tools and Materials You’ll Need
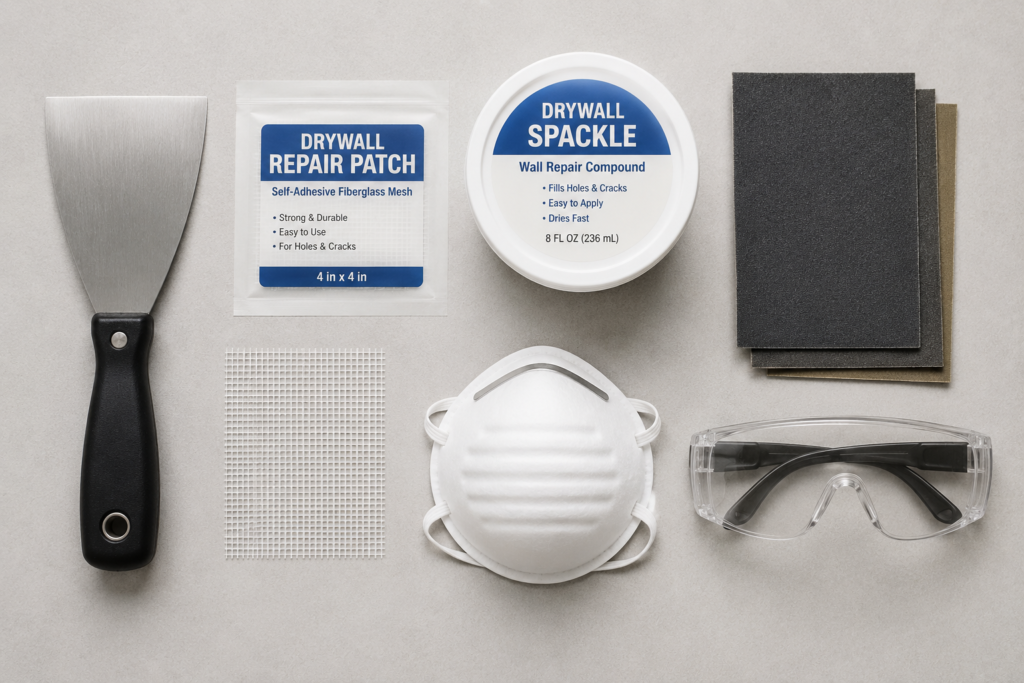
One of the best things about this project is how little it requires. Here’s your beginner drywall repair shopping list:
- Lightweight spackle or joint compound
- A flexible putty knife (a 4-inch and a 6-inch blade cover most jobs)
- Fine-grit sandpaper (220 grit) or a sanding sponge
- A self-adhesive mesh patch (for holes larger than 1/2 inch)
- A damp cloth and a dry rag
- Primer and matching wall paint
- A dust mask and safety glasses
Most of these items come bundled together in an inexpensive drywall repair kit, which is a smart buy if you’re tackling your very first patch and don’t want to purchase everything separately.
Step-by-Step: How to Patch a Small Hole in Drywall
Step 1: Clean Up the Area
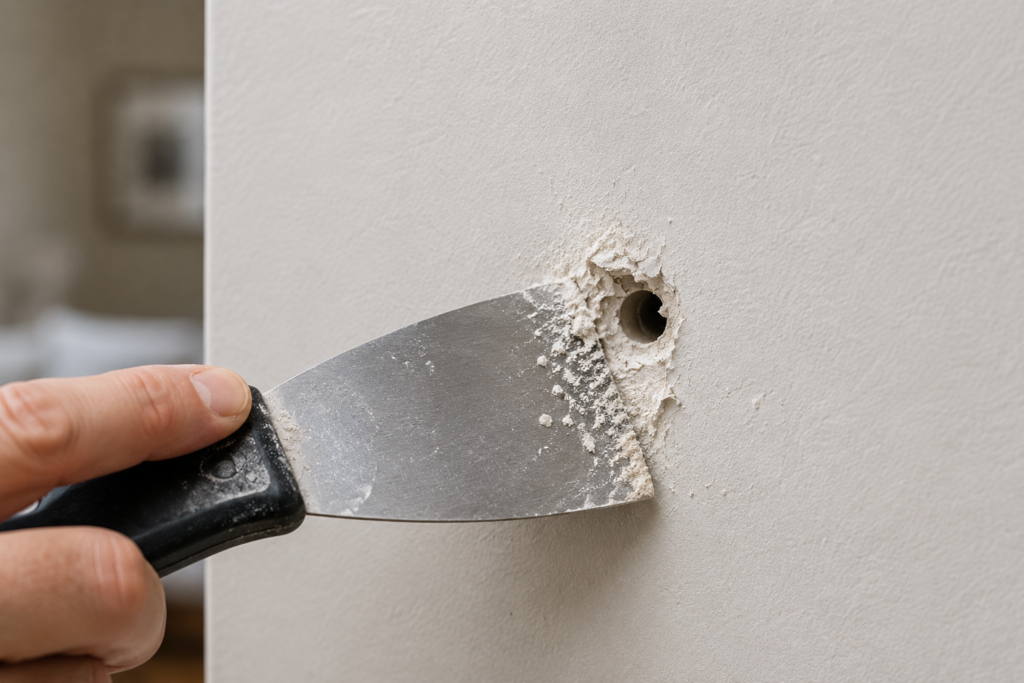
Start by removing any loose drywall, dust, or debris around the hole. Use your putty knife to gently knock away any raised or crumbling edges so you’re working with a flat, stable surface. Wipe the area down with a damp cloth and let it dry completely before moving on.
Step 2: Apply the Patch (For Holes Over 1/2 Inch)
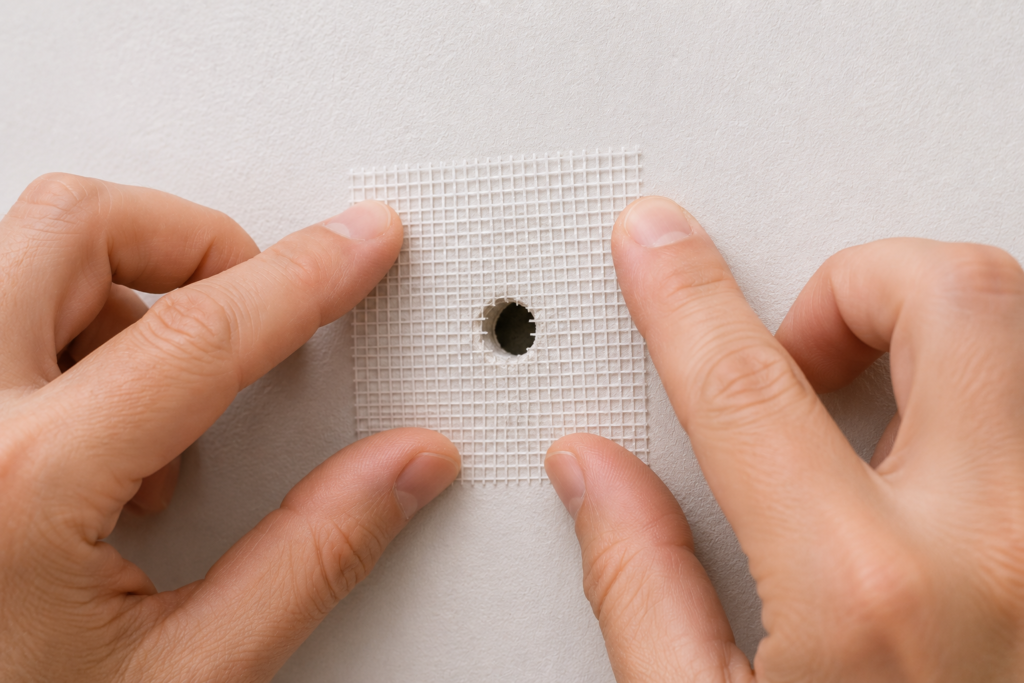
If your hole is bigger than a nail hole, peel the backing off a self-adhesive mesh patch and press it firmly over the damaged area, centering it so the mesh overlaps the good drywall on every side. This mesh gives the compound something to grip onto so your patch doesn’t crack or sink later.
Step 3: Fill the Hole with Spackle or Joint Compound
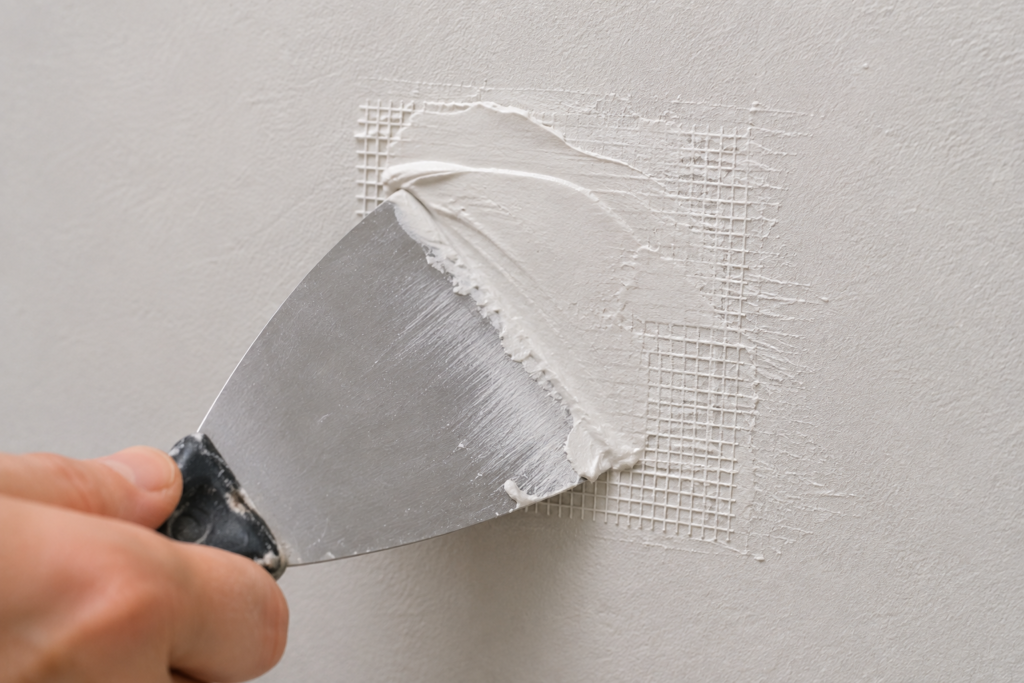
Load a small amount of spackle onto your putty knife and press it into the hole at a slight angle, working it into every corner. Drag the blade across the surface to smooth it out and remove any excess. For tiny nail holes, you can often skip the mesh patch entirely and go straight to this step.
A common beginner question is whether to use spackle or joint compound. Spackle is thicker, dries faster, and works well for small holes. Joint compound spreads more easily over larger areas and is better for feathering wide patches, so many DIYers use spackle for the first fill and joint compound for the final smoothing coat.
Step 4: Let It Dry, Then Add a Second Coat
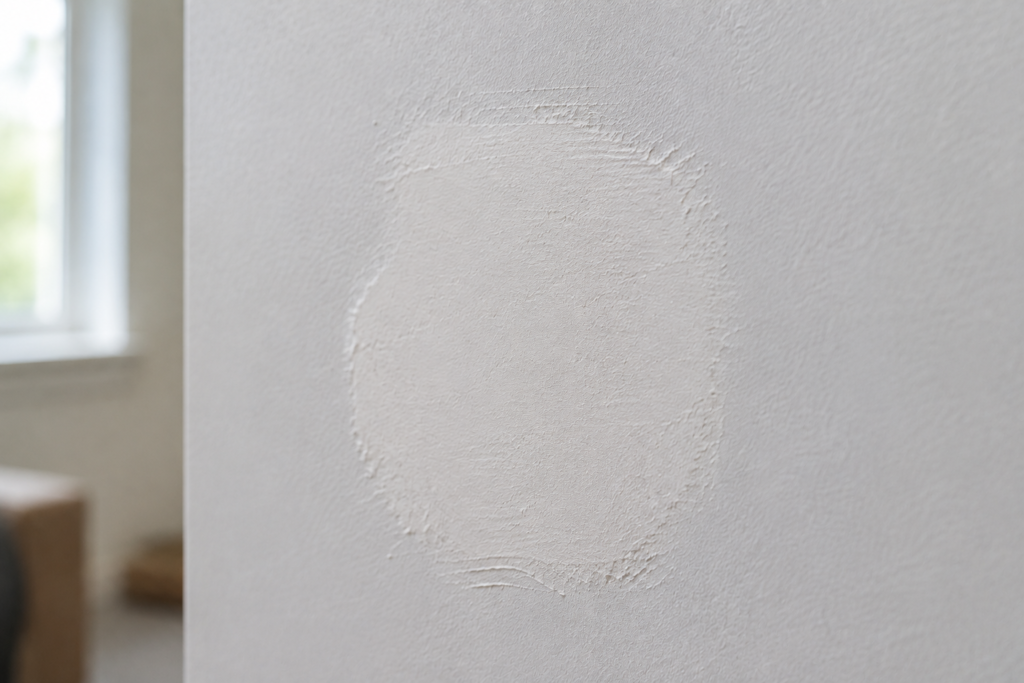
Give the first layer time to dry fully. This can take anywhere from 30 minutes to a few hours depending on the product and humidity in your home. Once dry, check for any dips or shrinkage and apply a second, thin coat if needed, feathering the edges about 4 to 6 inches beyond the patch so it blends smoothly into the surrounding wall.
Step 5: Sand It Smooth
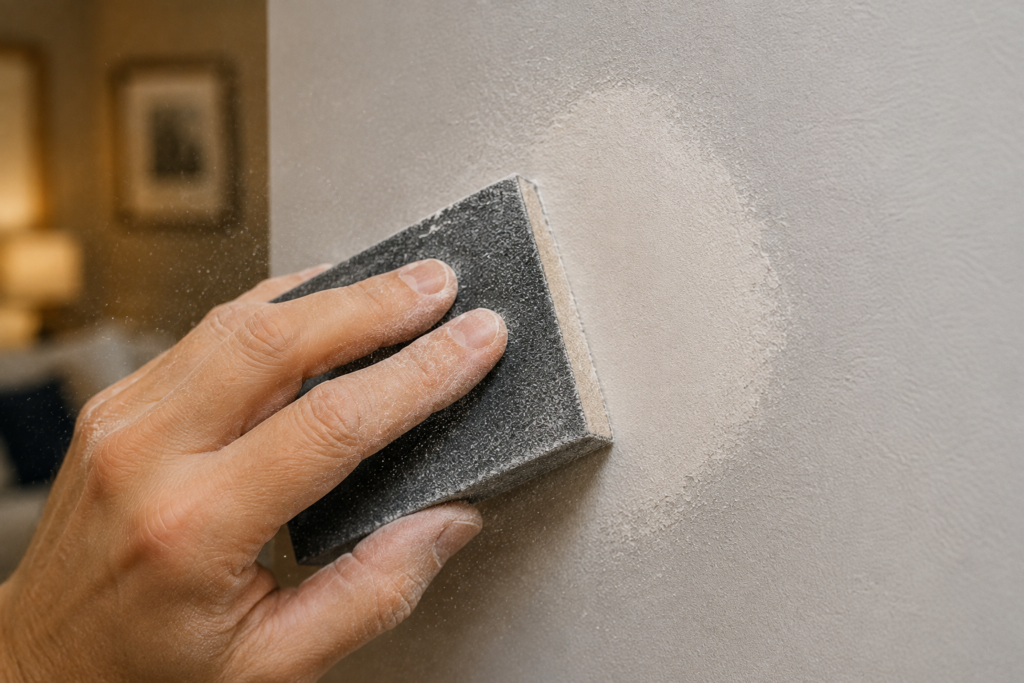
Once the final coat is completely dry, lightly sand the area with fine-grit sandpaper using small circular motions. You’re aiming for a surface that feels flush with the rest of the wall when you run your hand over it. Wipe away the dust with a dry cloth before painting.
Step 6: Prime and Paint
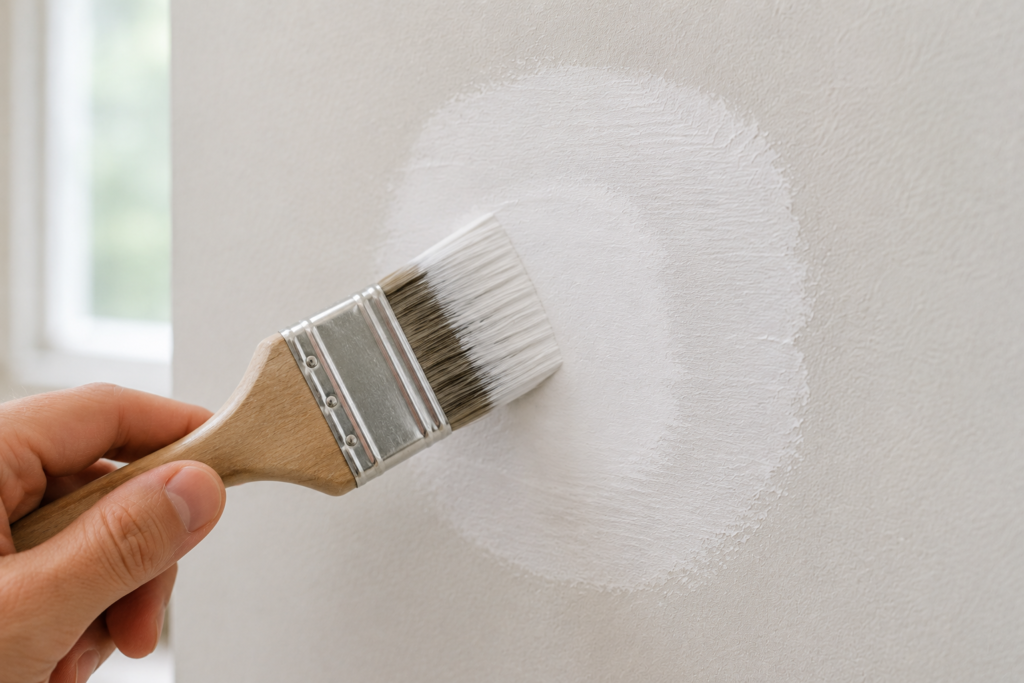
Don’t skip primer. Spackle and joint compound are porous and will absorb paint differently than the surrounding wall, which can leave a visible flat spot even after painting. A light coat of primer evens things out. Once it’s dry, paint the area with a color-matched paint using a small brush or roller, feathering the edges so the repair disappears into the wall.
Common Mistakes Beginners Make

- Skipping the sanding step, which leaves a bump that catches the light
- Applying compound too thick in one coat instead of two thin coats
- Forgetting primer, which causes the patch to look duller or shinier than the wall
- Rushing dry time before sanding or painting
- Using the wrong patch size for larger holes instead of adding mesh backing
Avoiding these small errors is really the difference between a patch that’s invisible and one that stands out. Slowing down between steps matters more than any special tool or technique.
When to Call a Professional Instead

Most nail holes, dents, and small punctures are perfectly safe for a beginner to handle. However, if you notice recurring cracks, water stains, soft or crumbling drywall, or holes larger than a basketball, it may point to a plumbing leak, structural issue, or mold problem underneath. In those cases, it’s worth having a licensed contractor take a look before you patch over something that could get worse.
Final Thoughts
Patching a hole in drywall is one of those small home improvement wins that builds real confidence for bigger DIY projects down the road. With a putty knife, some spackle, and about an hour of your time, you can turn a frustrating wall blemish into a smooth, paint-ready surface that looks like it was never there.
Start with one hole, take your time on each coat, and don’t be afraid to sand a little extra before painting. Once you see how easy it is, you’ll never look at a nail hole the same way again.